Hold your console's shift key as you right-snap to see the old setting menus. This article makes sense of how for get back the old setting menu Windows 11 and reestablish the exemplary right-click usefulness from prior variants of Windows.
How to Access the Old Context Menus in Windows 11?
Assuming that you're experiencing difficulty with the new setting menus in Windows 11, you can get to the old ones of every two unique ways. The most straightforward method for getting to the old setting menus in Windows 11 is to squeeze shift + right-click rather than perfectly clicking.
Related Article: How to Fix a Chromebook Touchscreen That’s Not Working
At the point when you press shift + right-click, the old setting menu will open rather than the upgraded one. This works all through Windows 11, so you can utilize it on the work area, record envelopes, documents, and different spots where you used to get to the old setting menus previously.
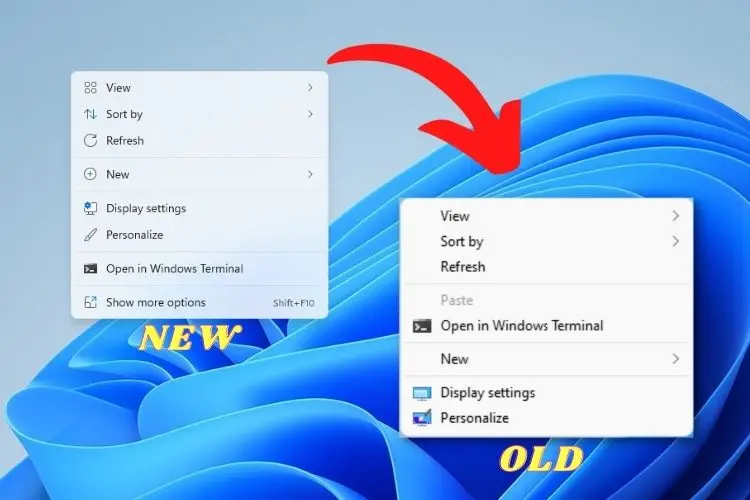
The alternate method for getting to old setting menus is to go through the new setting menu:
- Right-click the work area, a record, or whatever gives the new setting menu.
- Snap show more choices.
- The old setting menu will show up.
How to Handicap the New Setting Menus in Windows 11?
Since the old setting menus are as yet open, adjusting the Windows Vault to keep the new setting menus from seeming will make the old ones show up all things being equal.
There are multiple ways of achieving this, however they all basically break the new setting menus and keep them from showing up. This method isn't suggested on the grounds that it can have undesirable outcomes, however Microsoft gives no authority elective.
This is the way to bring back the old Windows 11 setting menus with a Vault alter:
1: Snap Search, type regedit, and click Library Proofreader.
2: Explore to HKEY_CURRENT_USER\SOFTWARE\CLASSES\CLSID.
3: Right snap CLSID > New > Key.
4: Name the key {86ca1aa0-34aa-4e8b-a509-50c905bae2a2} and press Enter.
5: Right snap {86ca1aa0-34aa-4e8b-a509-50c905bae2a2} > New > Key.
6: Name the key InprocServer32, and press Enter.
7: Select InprocServer32 and click (Default).
8: Set Worth name to default and tap the worth field, yet type nothing, then click alright.
9: Restart your PC.
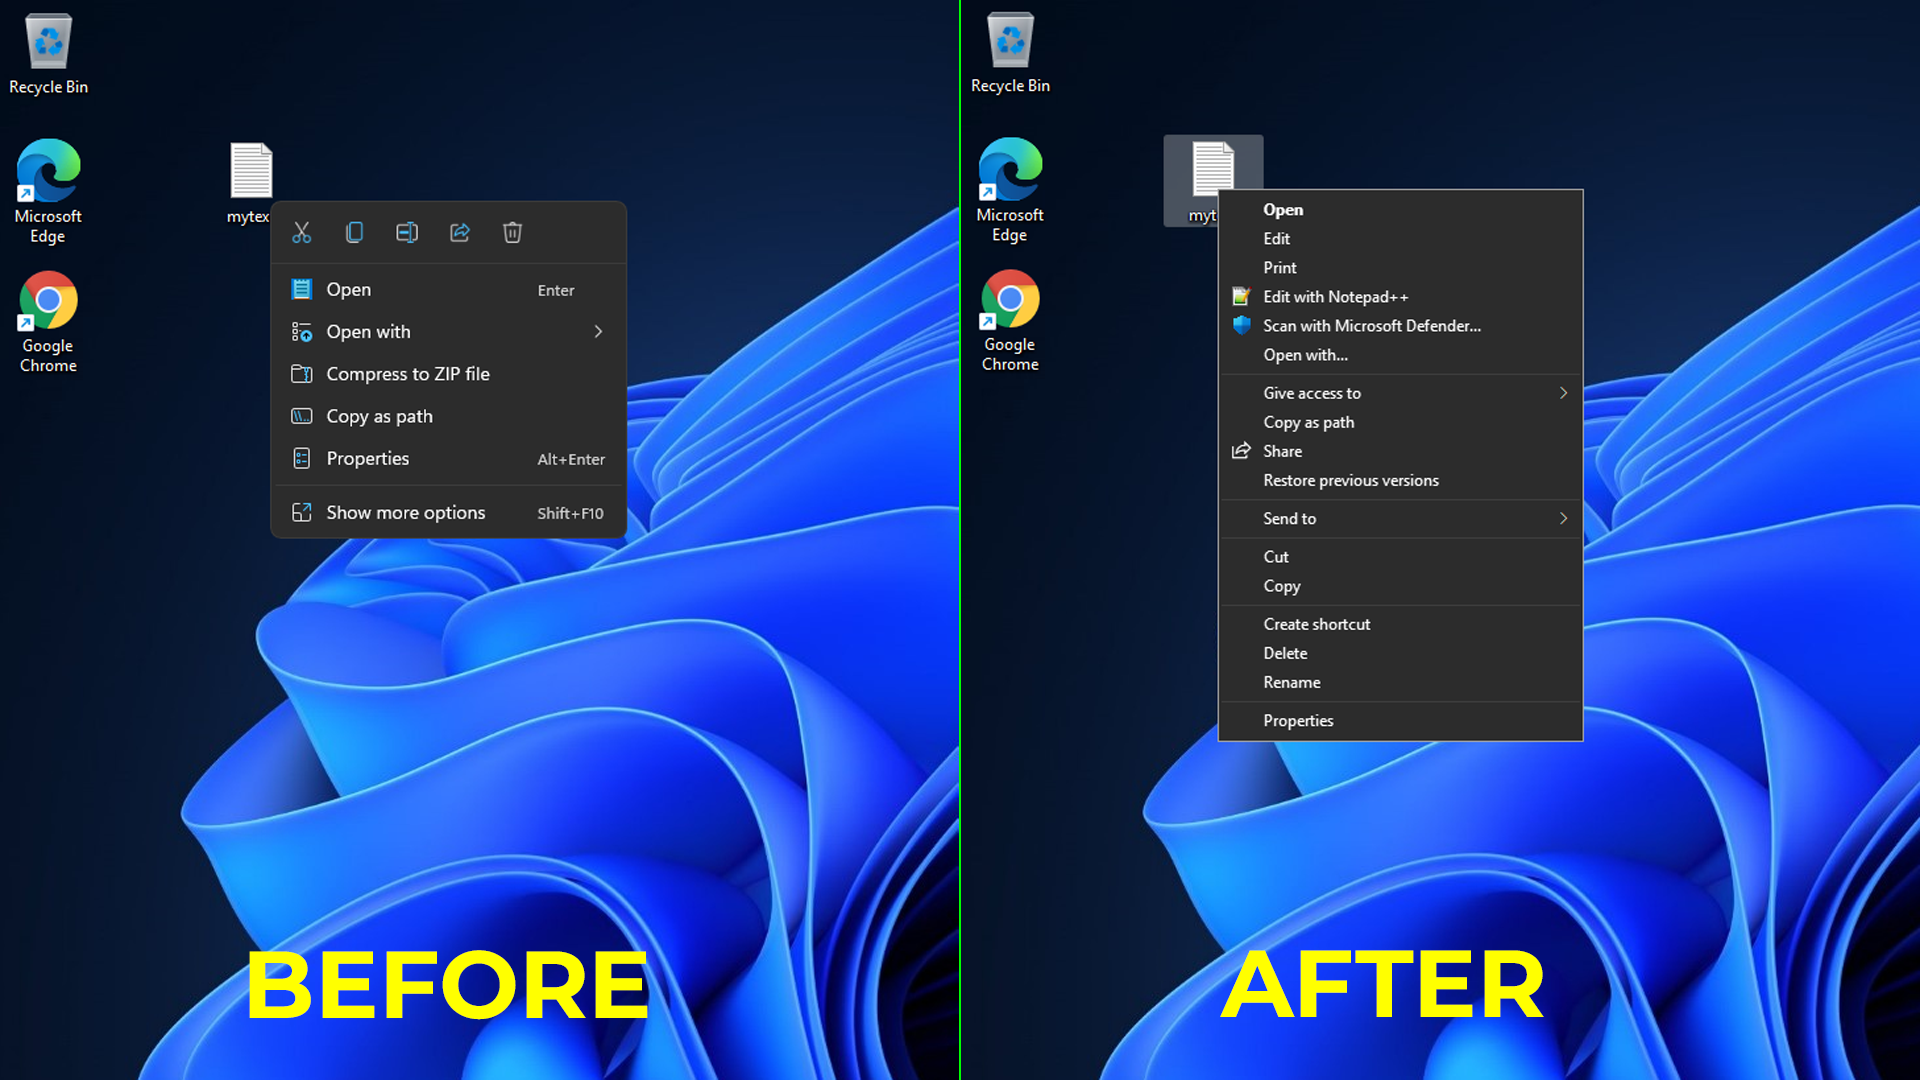
What Happened to the Old Context Menus in Windows 11?
The old setting menus were supplanted by new ones intended to be more straightforward to utilize. At the point when you first open the menu, the most ordinarily utilized choices are set near your mouse's area.
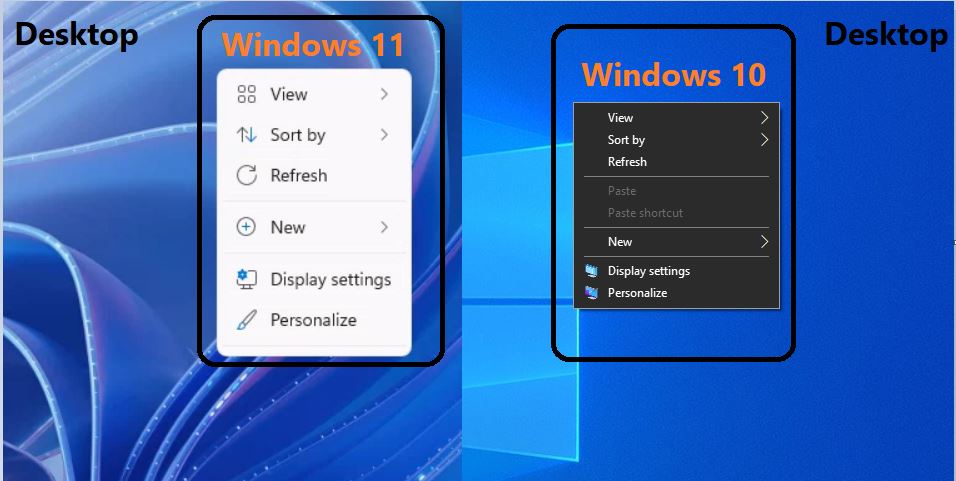
The new menus work much the same way to the old menus and give comparable usefulness, yet they utilize symbols rather than words, and there are a few distinctions in usefulness. The setting menu upgrade is planned to diminish mess and make the menus more straightforward to utilize, yet that isn't generally the situation.
You Must Also Like: Whats new in Android Studio Jellyfish
Some applications don't uphold the new setting menus, so the essential usefulness you're searching for will be missing from the menu, and you should choose 'show more choices' to get to the old-style menu.
On the off chance that an application you use much of the time doesn't uphold the new setting menus, you can contact the engineer and request that they add support or start squeezing shift + right-click all things considered.
FAQ's - Windows 11 Right Click Menu Old
How do I show normal right-click in Windows 11?
In the event that you need quicker admittance to the exemplary setting menu yet don't have any desire to roll out an extremely durable improvement to your framework, you can without much of a stretch skirt the cutting edge setting menu by essentially holding down Shift on your console when you right-click something.
Why is the right click menu not working on Windows 11?
How might I fix the right-click issue on my Windows 11 PC? You can have a go at restarting your PC, refreshing mouse drivers, running framework record checks, crippling outsider programming, or playing out a spotless boot to investigate the issue.
How do I customize my menu in Windows 11?
Open Settings: Snap the Beginning button and afterward the settings symbol, or press Windows key + I to open the Settings application. Explore to Personalization: In the Settings menu, click on "Personalization," which will take you to the choices for tweaking your work area and Begin Menu.
What can I use instead of right-click menu?
Most console has the ctrl key on the right that conveys the setting menu symbol. Normally you want to hold down the Fn key and this ctrl key together to do the right snap. Or then again Shift+F10, Shift+Fn+F10 could work as well. Simply remember, not all gadgets utilize a similar console easy route.
How do I reset my Windows menu bar?
Press the Windows key + r console easy route and enter cmd in the Run box to open a Windows Order Brief window. To end Windows Wayfarer, type the taskkill order with/f,/im choices and the beginning order to reset the taskbar. The order will strongly restart Windows Pilgrim and reset the Taskbar.